Record your screen
Choose what to capture, set up your camera and sound, and save a recording.
On this page
Recording takes a few clicks: pick what to capture, check your camera and sound, then start. Make a short test first, especially before a demo or lesson you cannot repeat.
Open the recorder
Use either of these:
- Choose the record button on Notch, then Screen recording from the menu that drops down. The same menu starts a Meeting recap. Right-click the record button to open the recorder directly.
- Open Recordings in the sidebar and choose New recording, or choose Record your screen on Home.
- Press Ctrl+K (Cmd+K on Mac) and choose New screen recording.
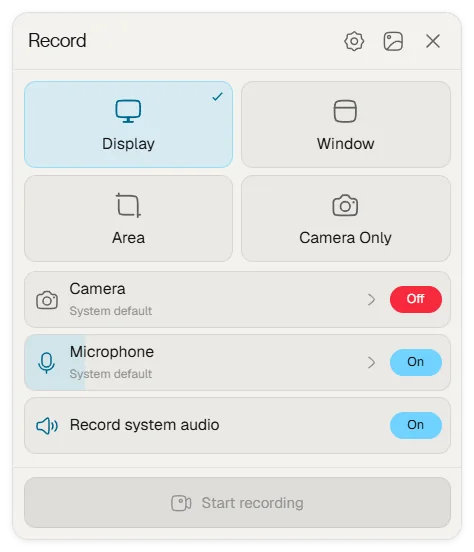
The Record panel opens with your last choices selected.
Choose what to capture
| Choice | Records | Good for |
|---|---|---|
| Display | A whole screen. Choose which one if you have several. | Walkthroughs that move between apps. |
| Window | One app window. | Keeping notifications and other windows out of the video. |
| Area | A rectangle you draw. | Focusing on part of a screen, such as one panel. |
| Camera Only | Your full camera frame, with no screen. | Talking-head updates and greetings. |
After you choose Display or Window, pick the exact screen or window from the list that appears. Check it, especially with more than one monitor.
Set up camera and sound
Each input has its own switch, so a working microphone does not prove that app sounds are being captured.
- Camera: turn it on to appear in the video, then open the row to choose a device. For screen recordings, choose the bubble’s Shape (rounded or square), Size (small, medium or large) and Position (any corner). You can also drag the bubble while you set up.
- Microphone: turn it on and open the row to choose the device. A level meter shows when Notch hears you. System default follows whatever your computer is currently using.
- Record system audio: turn it on to capture sounds from apps, such as a demo video or a meeting. The switch reads Unavailable if your computer cannot capture it. On Mac this needs macOS 14.2 or later.
Choose recording quality
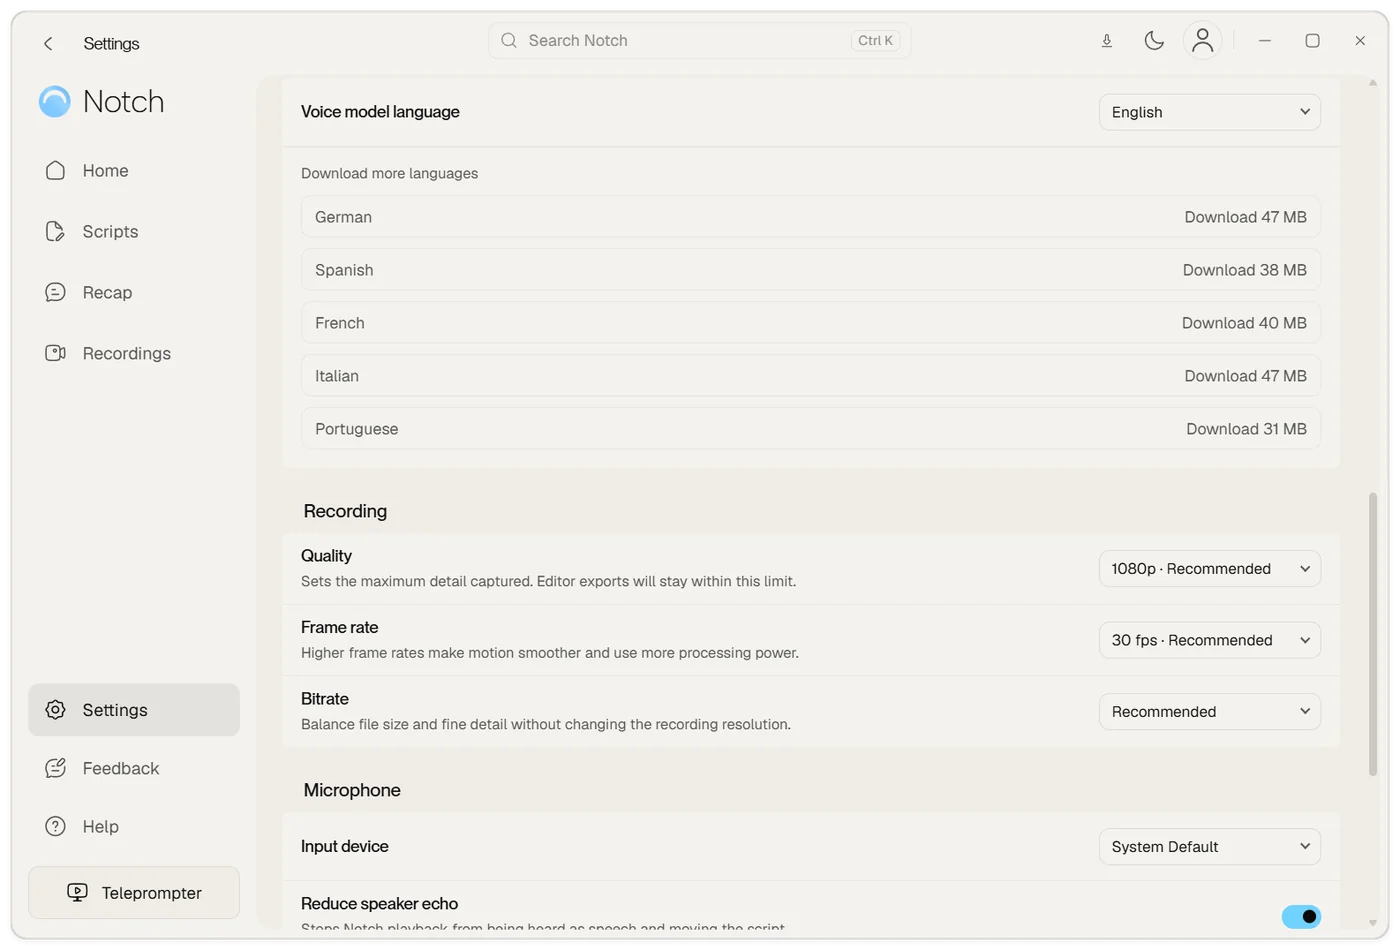
Quality, frame rate and bitrate live in Settings → Recording, and apply to new recordings. Notch suggests settings that suit your computer and marks them Recommended.
| Setting | What it changes |
|---|---|
| Quality | The maximum detail captured: 480p, 720p or 1080p. Exports can never exceed it. |
| Frame rate | 24, 25, 30 or 60 fps. Higher is smoother and needs more processing power. |
| Bitrate | Smaller, Recommended or Higher: file size versus fine detail. |
Your plan sets the highest quality you can choose. The free trial records up to 720p at 30 fps, and options beyond your plan show a Plus label. A slower computer should stay on the recommended settings; if a recording stutters, lower the frame rate first. See what to expect when exporting.
Start, pause and stop
- Choose Start recording. A three-second countdown runs in Notch so you can get into position; choose the × beside Starting in to cancel it if you are not ready.
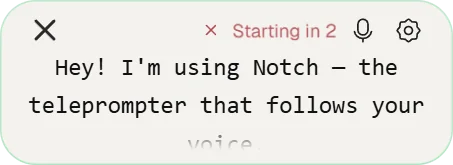
- While you record, Notch shows the timer and your controls at the top:
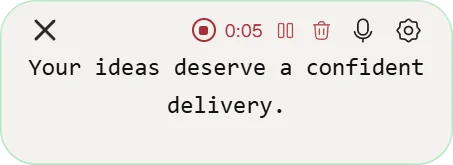
- Use Pause to hold the recording and Stop to finish. The bin button discards the recording.
- After you stop, wait a moment while Notch saves it. It appears at the top of Recordings, ready to edit.
If your teleprompter is empty, Notch shrinks to a thin bar with only these controls. If you use a script, it stays in view for you, with the controls above it. While you record, Notch asks your system to keep itself out of the video. Capture protection is not universal, so check a test recording.
Check it before it counts
Record ten seconds, then open it from Recordings and play it back. Confirm the picture, that your voice is clear and that any app sound you need is there. Then record for real.
If the picture or sound is missing
The picture is black or empty
On Mac, check System Settings → Privacy & Security and allow Notch under the screen-recording category for your macOS version, then reopen the app. Choose the source again. Some protected content, such as certain video players, cannot be captured by any app.
My voice is missing or quiet
Check that the Microphone switch is on, the right device is selected and the level meter moves when you speak. Then check the physical mute switch and your system’s microphone permission.
App or meeting sounds are missing
Turn on Record system audio. If it says Unavailable, hover or read the explanation shown, and update macOS if it asks for 14.2 or later.
The recording stutters or skips
Close demanding apps and choose a lower frame rate or Quality in Settings → Recording. Keep your computer plugged in on a laptop.
My camera is not listed
Close other apps that are using the camera, reconnect it and reopen the camera row. The panel shows No camera found if none is detected.